Showing posts with label purple. Show all posts

Saturday, January 25, 2014

Recent Projects

Here are a couple of recent projects! More how-tos to come! But for now, check these out.

Bridal Party Gift: Apron

I anticipated it being a little sexy apron that you can cook in AND play in. With the apron, I gave some choice items including but not limited to a duster and red lipstick. Here are a few shots of the process!
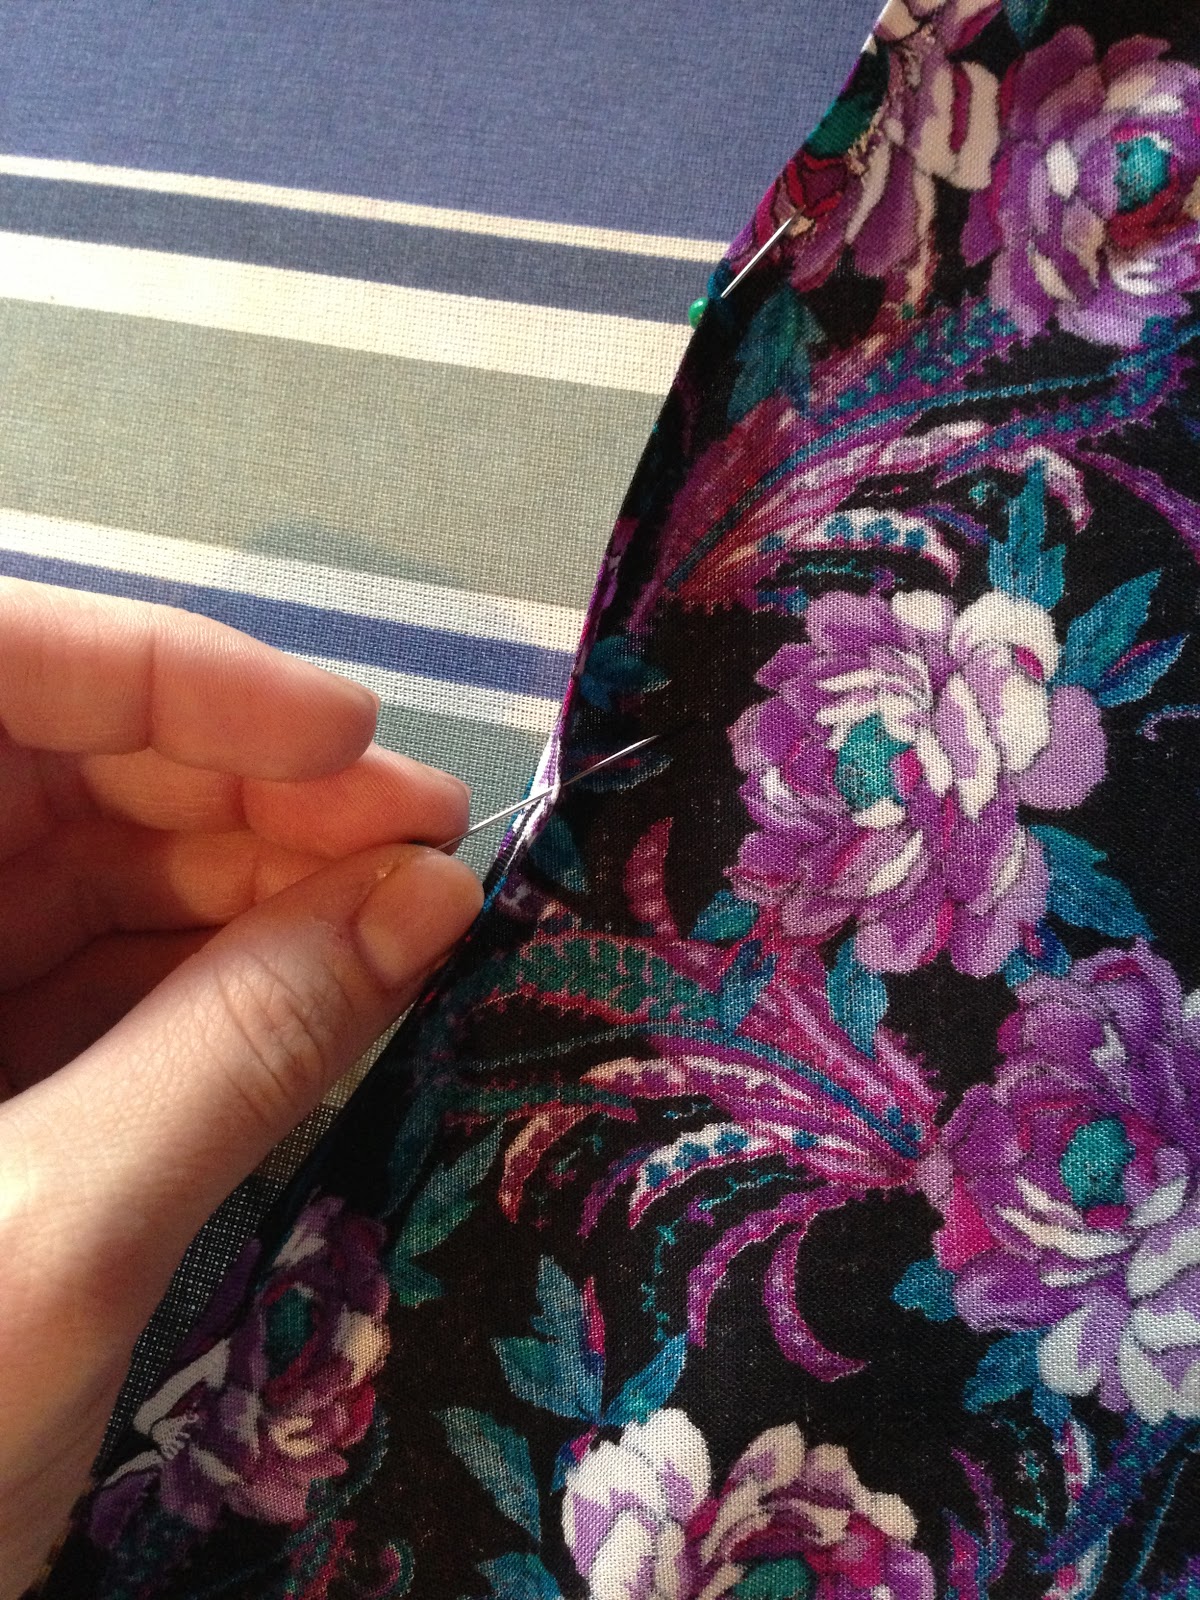
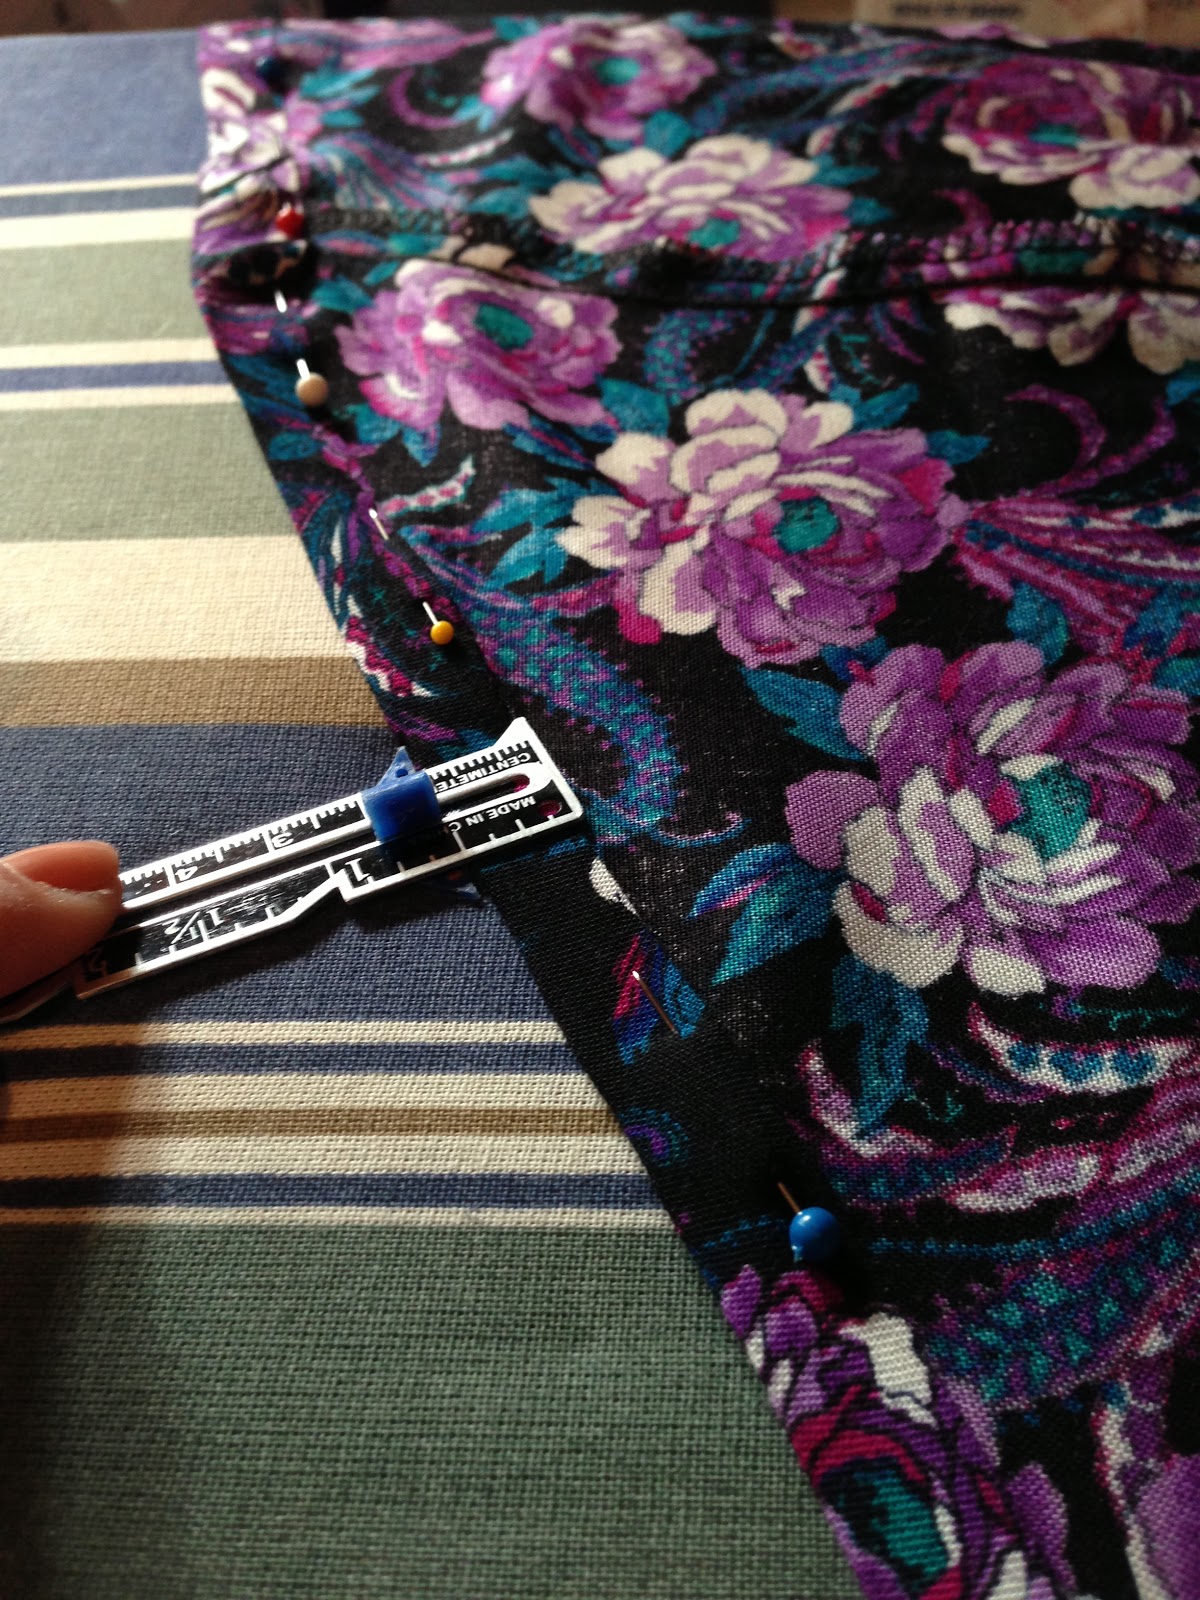
I love pleating!
Now I am thinking it should have ONLY been the white part... next time!
Making progress...

The finished apron took a lot of fighting and reevaluating. I did end up pleating the chest part to make fit and it looked sexier then before so I am okay with it! Next time, it will be a smoother process!


Baby Shower Gift: Bibs!

My friends are having a baby boy so I threw together a couple of baby bibs for her baby shower! I may do a tutorial down the road. 


Baby Gift: Diaper Clutch!

My friend just had her first baby girl! I made this clutch and a coordinating changing pad. With the gift, I included wipes and diapers so she can grab this and go when on the run. [Please just imagine the diamond button I finished the clutch with.] 


Thank you,
Abby

Thursday, November 8, 2012

Easy DIY: Low-to-High Skirt

Good afternoon friends!


I've had this guy in my closet for a couple months know while contemplating what to do with him - so many options! One suggestion was to make shorts (I'm not sure I'm ready for that yet), another option would be a one-sholder dress (I think I'll save that for next time) so I decided to make a low-to-high skirt :)

Before!
Did I mention it only cost $0.99!
Start by turning the skirt inside out and fold it in half - I have the front to the right and back to the left. I put the skirt on and placed a pin where I wanted the skirt to fall above my knee.
Next I used white chalk to draw a line from my pin to the bottom of the skirt. Be careful to make sure the front and back are straight with the angle in-between otherwise you'll get a funny 'peak' in the front or back. **This is the MOST IMPORTANT PART**


I pinned the skirt along the chalk line to guarantee there was no movement and crooked lines


Chop chop!

Next for the hem...

I had the skirt inside out, folded the material in 1/6" (roughly) and pinned the outside - it was awkward at first but it made the next step easier.

After I pinned the skirt in 1/6" (roughly) all the way around I started the second fold. This I did at 1/2" using this handy-dandy tool thingy [below], ironed and pinned it down. This will give it a nice finish!


The hem
Sewing time!


Gave it a quick iron and thats it!
After!
Love it!!


before & after


Thank you for stopping by!
Give it a try and let me know how it goes!!