Showing posts with label skirt. Show all posts

Thursday, November 8, 2012

Easy DIY: Low-to-High Skirt

Good afternoon friends!


I've had this guy in my closet for a couple months know while contemplating what to do with him - so many options! One suggestion was to make shorts (I'm not sure I'm ready for that yet), another option would be a one-sholder dress (I think I'll save that for next time) so I decided to make a low-to-high skirt :)

Before!
Did I mention it only cost $0.99!
Start by turning the skirt inside out and fold it in half - I have the front to the right and back to the left. I put the skirt on and placed a pin where I wanted the skirt to fall above my knee.
Next I used white chalk to draw a line from my pin to the bottom of the skirt. Be careful to make sure the front and back are straight with the angle in-between otherwise you'll get a funny 'peak' in the front or back. **This is the MOST IMPORTANT PART**


I pinned the skirt along the chalk line to guarantee there was no movement and crooked lines


Chop chop!

Next for the hem...

I had the skirt inside out, folded the material in 1/6" (roughly) and pinned the outside - it was awkward at first but it made the next step easier.

After I pinned the skirt in 1/6" (roughly) all the way around I started the second fold. This I did at 1/2" using this handy-dandy tool thingy [below], ironed and pinned it down. This will give it a nice finish!


The hem
Sewing time!


Gave it a quick iron and thats it!
After!
Love it!!


before & after


Thank you for stopping by!
Give it a try and let me know how it goes!!


Sunday, October 28, 2012

Easy Cheetah Maxi Refashion


Hello friends!

I had a couple hours free this Saturday and decided to venture into Goodwill and came out with three refashionable dresses! I knew exactly what to do with this stretchy cheetah dress - MAXI SKIRT! I've been looking for the perfect maxi all summer - even attempting to sew one without a pattern (#fail)! - needless to say, I'm excited about this one! 


Used 1 1/2" thick knit elastic - the thickest I could find


Took the elastic, measured it around my waist where I wanted the skirt to sit and put a pin to mark it.


Next, I laid the top of the dress on my ironing board to chop the arm and neck holes off

Handy dandy yard stick for a straight line!

Chop chop!


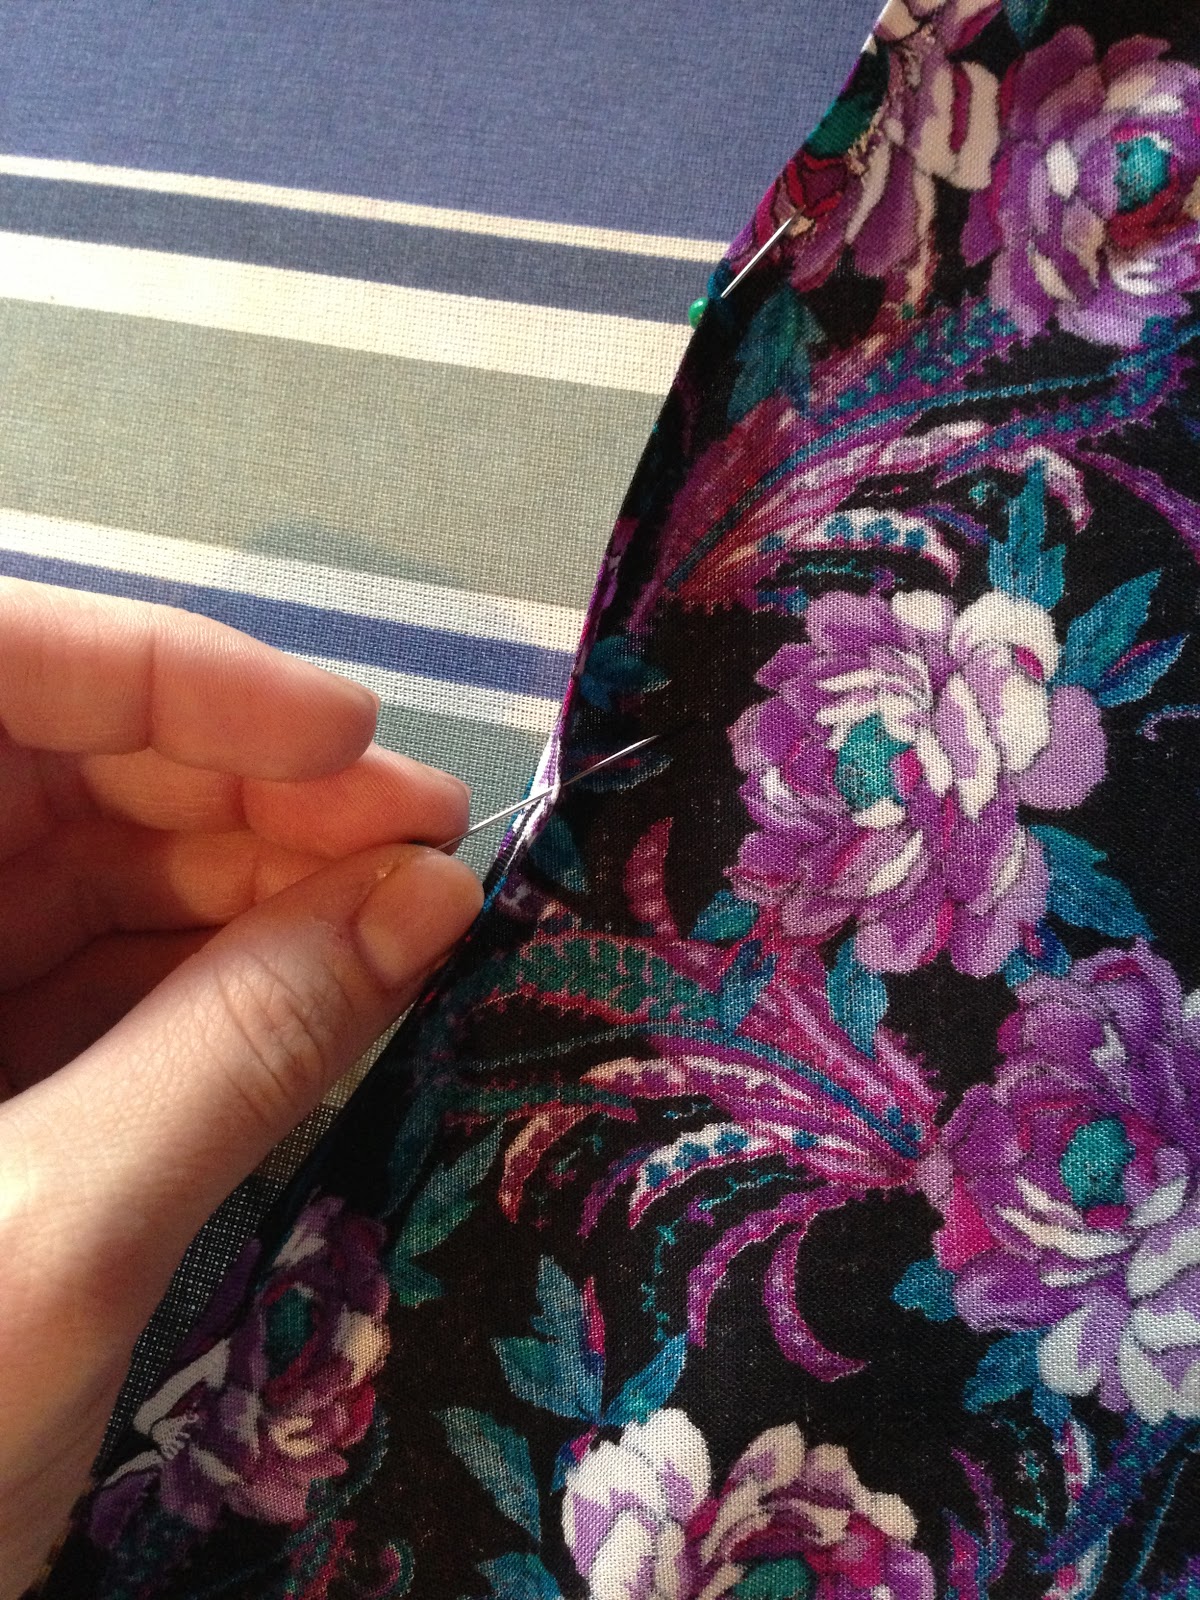
 I measured the hem for 2 inches to give slack for the hem and pinned it down all way around. Now, I am going to be honest... I'm lazy. The hem would look ten thousand times better if the fabric was folded in twice and than sewn but common, who looks at the seem inside my skirt??
 

and give it a little sew sew. I did leave about a two inch gap to feed the elastic through.

Elastic time! I used a safety pin to feed it which did made it a little easier to pull through.


After the elastic was through, I pinned the two ends and sewed them together.


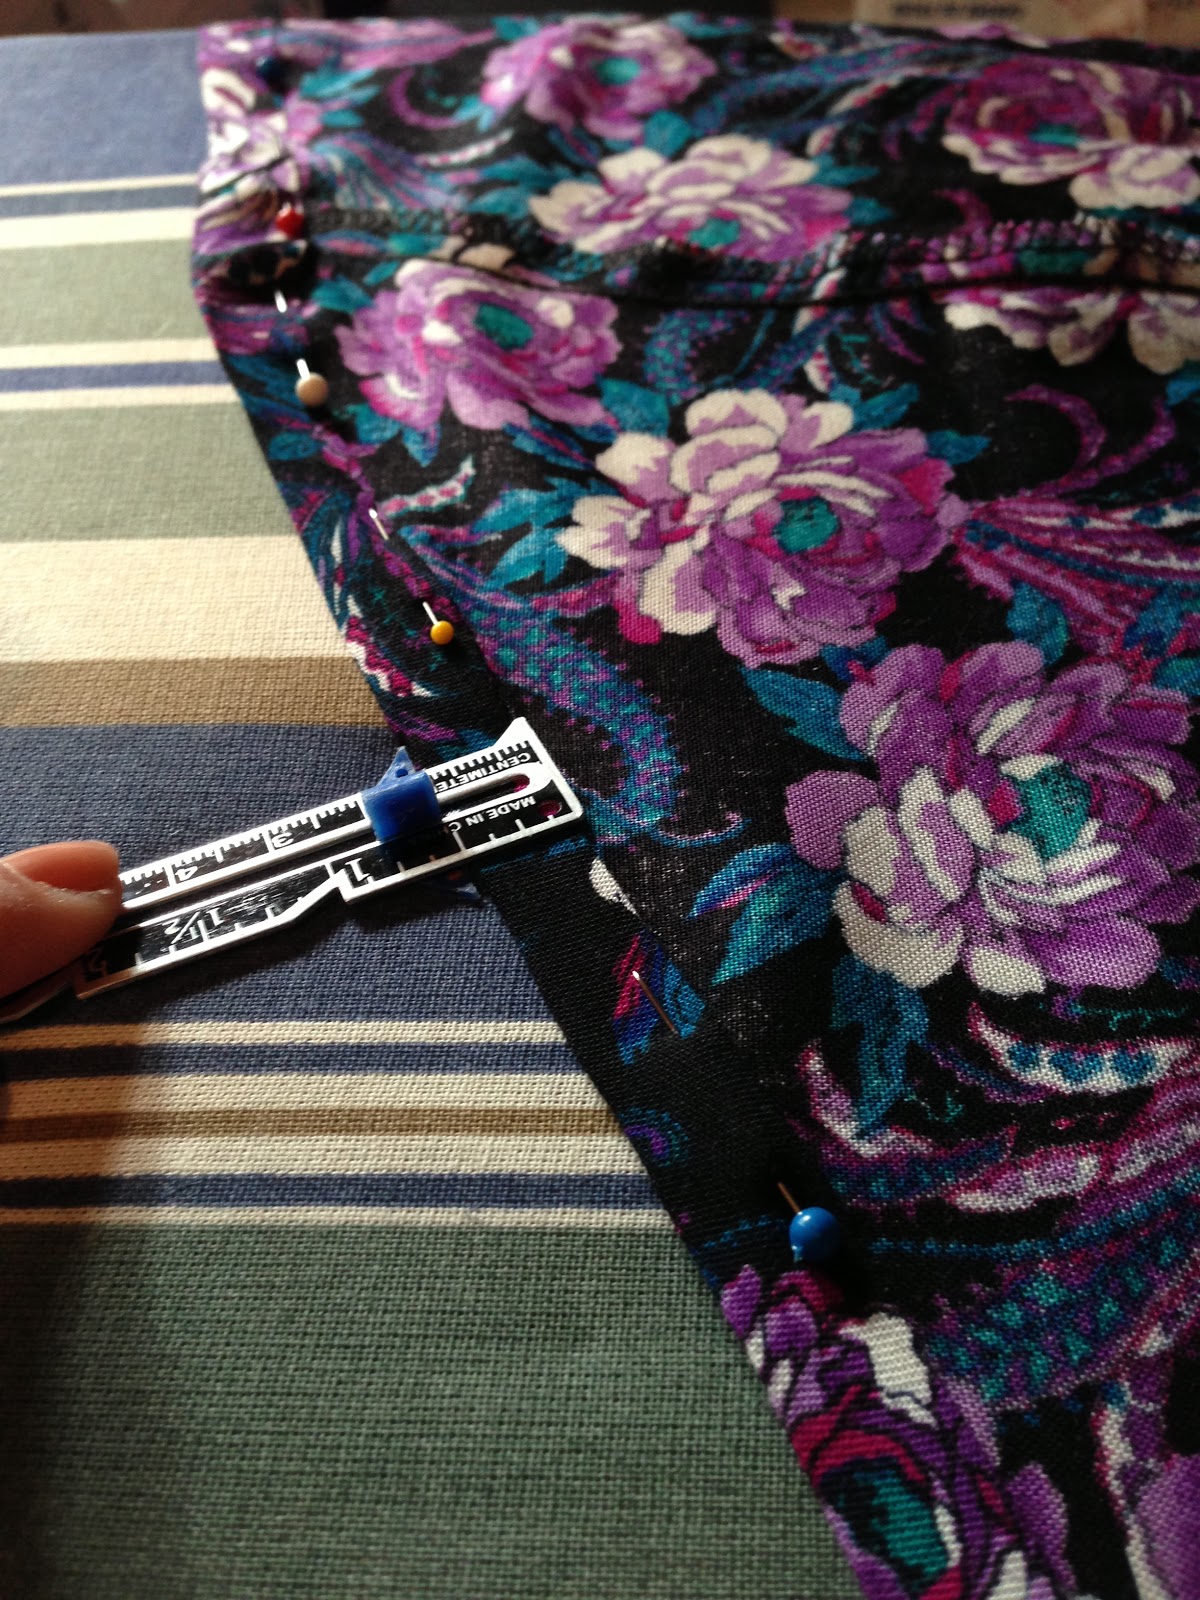
Next, I sewed up the two inch gap left for the elastic (where the pins are in the picture below - notice how the gap is laying flat and the fabric in the far left is extra scrunched - obvious but worth noting) and we are good to go!


Final step - try her on!! Ladies and gentlemen, we have a winner!


Thanks all!