Showing posts with label redo. Show all posts

Monday, January 27, 2014

DIY Waterfall Cardigan

I found a few lovely pieces at Goodwill this week and asked for help decided which to start with.. an overwhelming amount of votes chose dress #1!


Floral Dress - Waterfall Cardigan


I started with folding the dress in half sideways with seems together.

Chopped it at an angle for the waterfall effect starting in the back and gradually getting longer toward the front. You want to make sure that you start cutting straight out then start going down so you don't get a pointy spot in the middle when unfolded. I ended at a pretty sharp angle because I want the waterfall effect in the front.

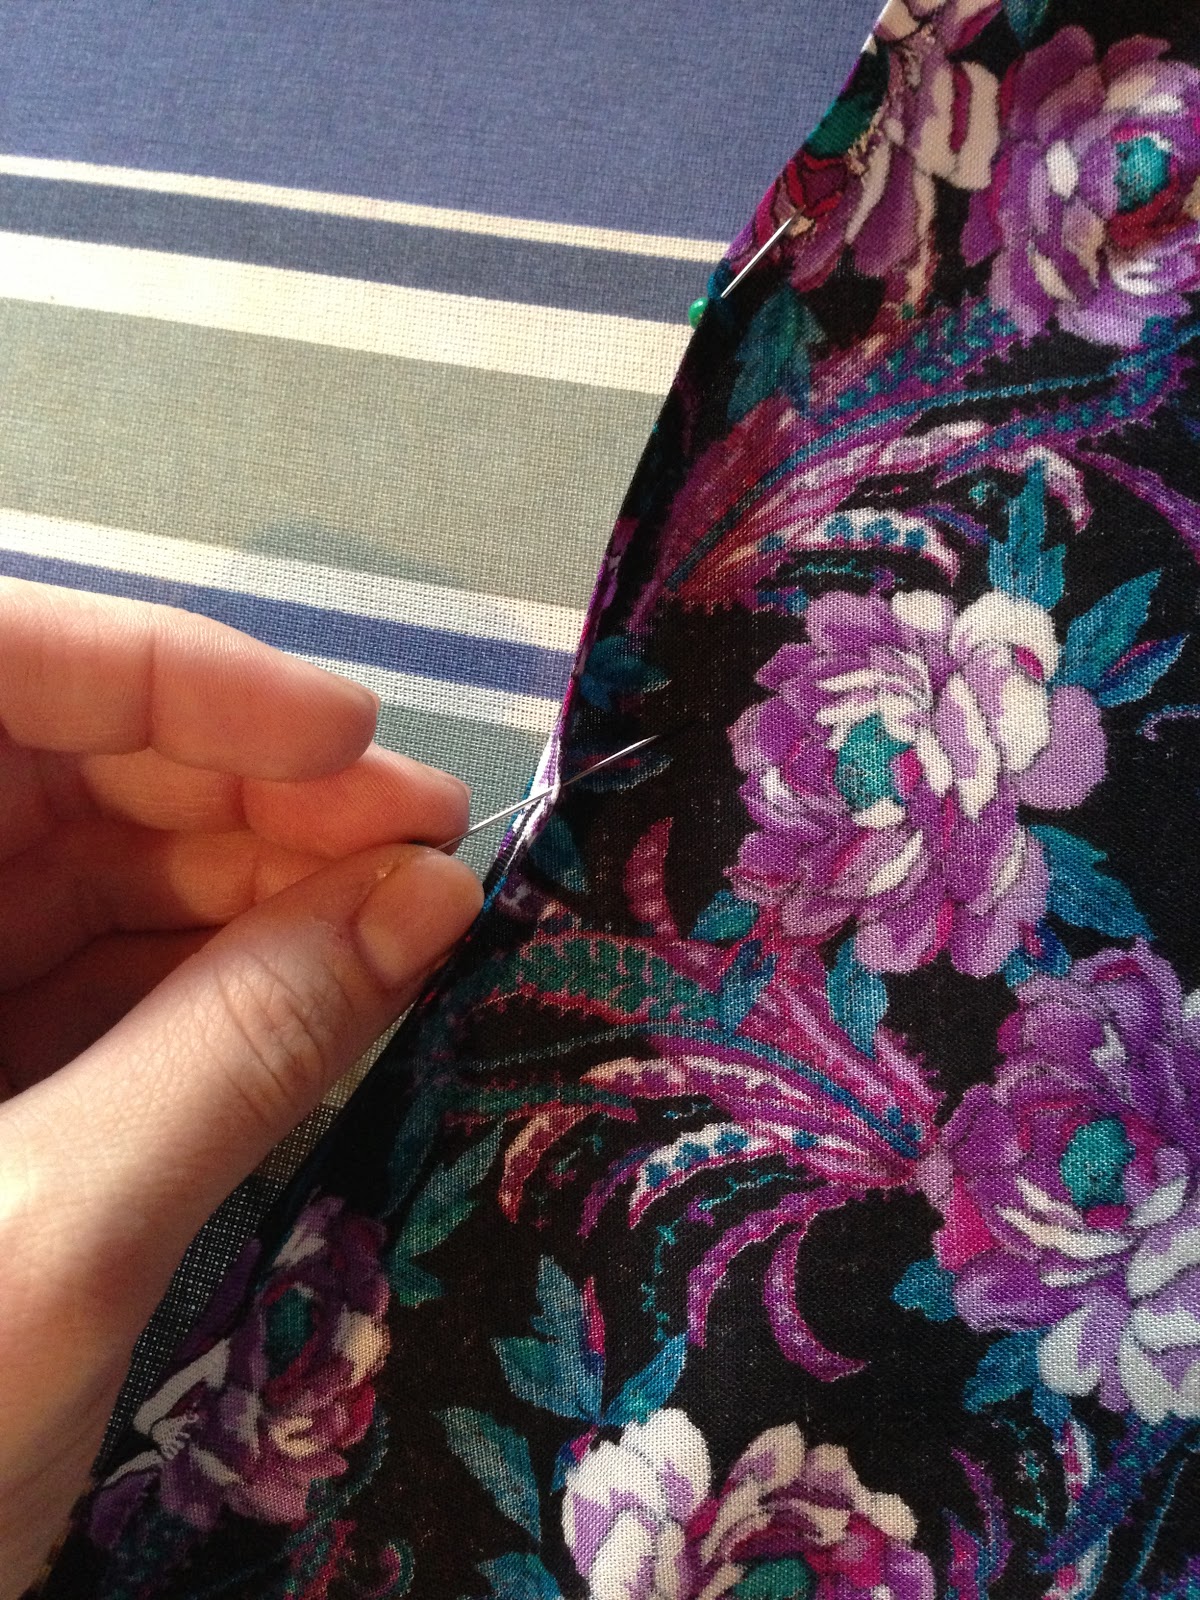
Next, I snipped it down the middle, starting at the center of the neck to create the cardigan.

This is where we are so far - low to high seam and open front!

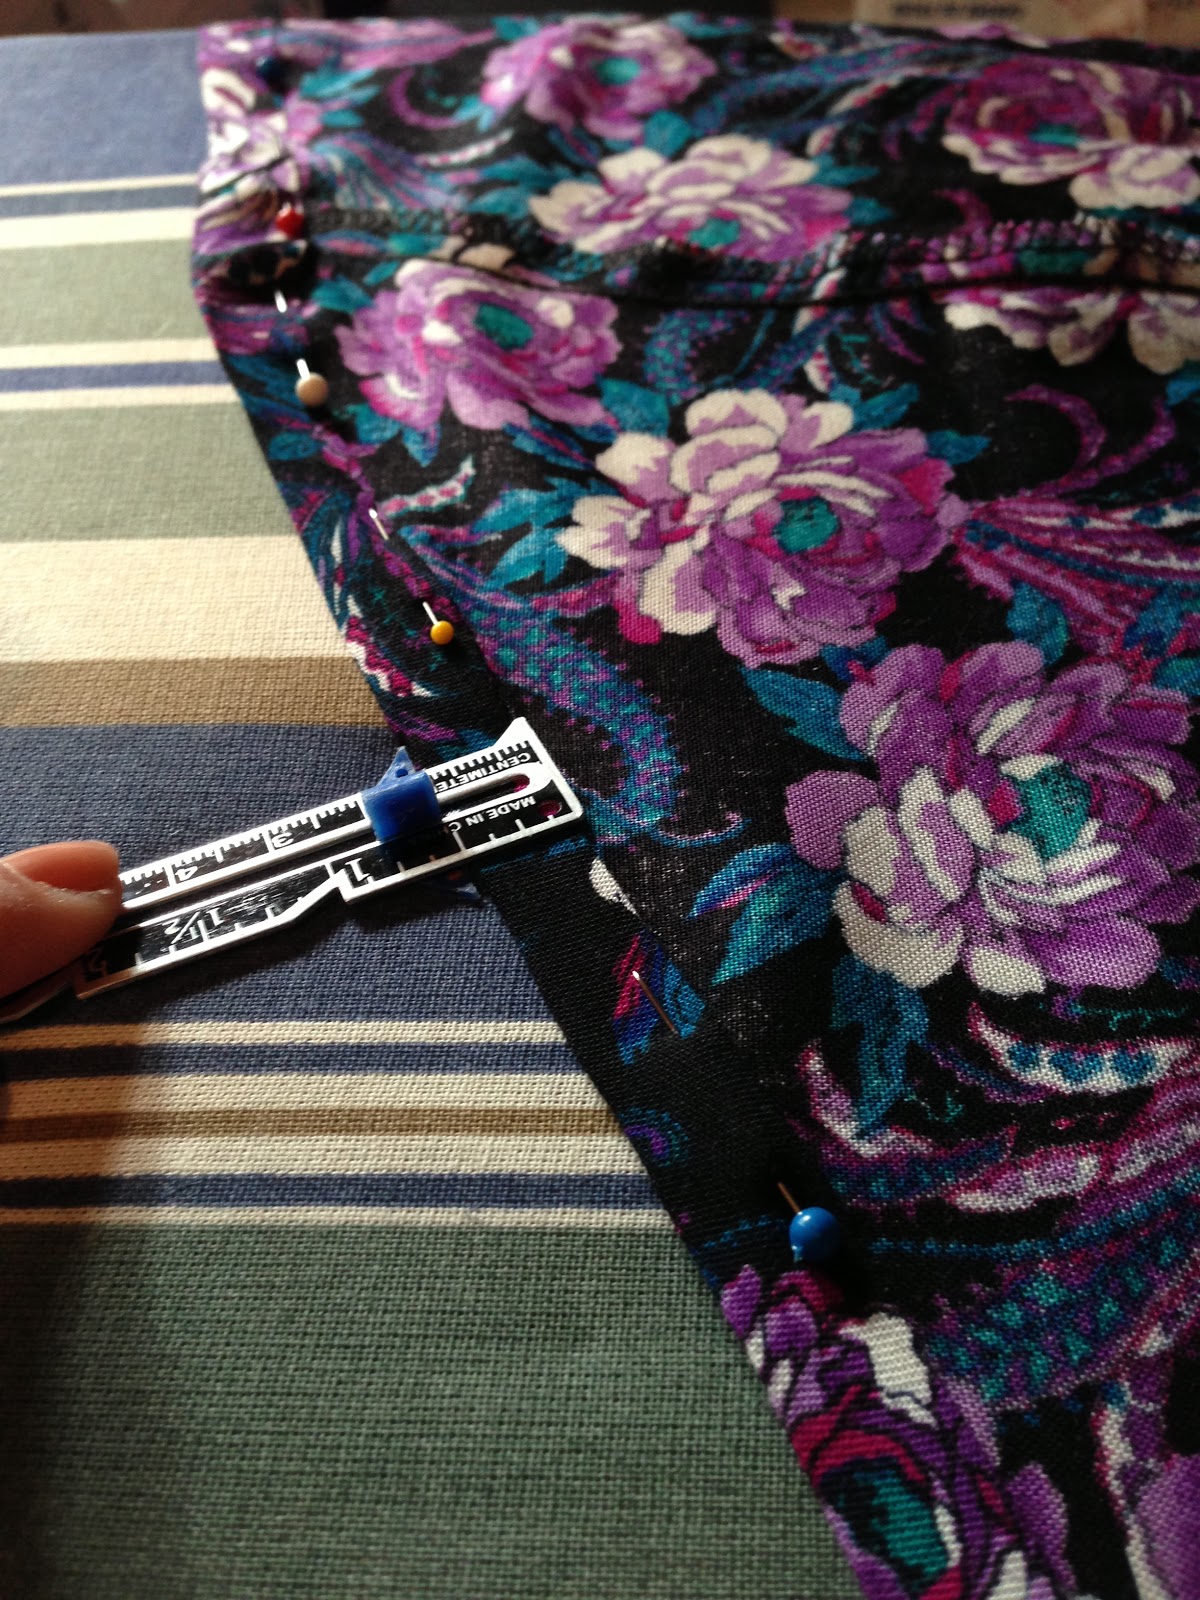
Took it in about 8 inches.

Cutting off the extra material after it has been sewn, leaving some extra (to the left) to work with for the sleeve.

I cheated with the sleeve and folded it straight in just extending the side seam.

After folding and ironing well, I ran it through the sewing machine and ironed again - here we are!

Finishing with hemming the bottom and both sides around the neck.

Paired with leggings, a belt and boots - we're ready to go!

I have A LOT of extra fabric so I experimented with high waisted shorts! (I did not do a step-by-step because I was reeeeeally experimenting)

Say "hi" to my little brother, Jake, in the reflection!


More then just a hobby...

As I mentioned, I put three photos up on facebook & instagram for friends to vote on the dress that they want me to refashion first. The overwhelming winner was this dress - hence, the blog! I did not expect this one to be chosen but was hopeful.. let me explain why.

But first... a friend asked me on Sunday which dress I was going to start with and I asked which they voted for. He said, "I voted for the first one.. that one seems the least savable! I don't even know what you will be able to do with that!" I was a little taken back because to me this dress had the very MOST potential! It was just waiting to be taken care of and given the right shape & style, therefore, purpose. 

God spoke to me then... some people look at us and say, "She is unsavable" or "I don't even know what anyone will be able to do with that!" "You're no good" But I promise you - God sees more potential in us then we can ever see in ourselves! He gets excited about all He can do and where He can take us!! Have hope in a God that knows our past, all our flaws, our future and STILL loves us enough to sacrifice His beloved child. 

I'm humbled by this truth. Refashioning clothes has become more then just a hobby to me. It's an escape, a release and worship.


enjoy,

Abby


Tuesday, January 1, 2013

Bow Tie Back Dress

Happy New Year!!
I am soo excited about this upcoming year!
This dress was a Christmas gift from my wonderful sister

Merry Christmas meeeeeeee!!


I started by turning the dress inside out, cutting out the shoulder pads, straps and about 2 inches off each side & the sleeves.

Next, I followed the seems in the back and cut a rectangle out.

& cut a wide neck.

Chop chop!!

I took the bottom of the skirt and cut it into 3 pieces.. (I did end up only using two of the pieces)

Measured, cut and pinned them inside out.

Than sewed along the long side leaving both short ends open 

Now, there are 3 loops

Next came the binding and the meticulous pinning!

I measured 1/2" from the bottom and pinned one of the loops
Twisted it and pinned the other side 1/2" from the bottom.
The second piece was pinned 1" from the top of the first one
Twisted and pinned on the other side 1" from the top of the lower one.


taadaa!


before & after

Blessings!
<3


Thursday, November 8, 2012

Easy DIY: Low-to-High Skirt

Good afternoon friends!


I've had this guy in my closet for a couple months know while contemplating what to do with him - so many options! One suggestion was to make shorts (I'm not sure I'm ready for that yet), another option would be a one-sholder dress (I think I'll save that for next time) so I decided to make a low-to-high skirt :)

Before!
Did I mention it only cost $0.99!
Start by turning the skirt inside out and fold it in half - I have the front to the right and back to the left. I put the skirt on and placed a pin where I wanted the skirt to fall above my knee.
Next I used white chalk to draw a line from my pin to the bottom of the skirt. Be careful to make sure the front and back are straight with the angle in-between otherwise you'll get a funny 'peak' in the front or back. **This is the MOST IMPORTANT PART**


I pinned the skirt along the chalk line to guarantee there was no movement and crooked lines


Chop chop!

Next for the hem...

I had the skirt inside out, folded the material in 1/6" (roughly) and pinned the outside - it was awkward at first but it made the next step easier.

After I pinned the skirt in 1/6" (roughly) all the way around I started the second fold. This I did at 1/2" using this handy-dandy tool thingy [below], ironed and pinned it down. This will give it a nice finish!


The hem
Sewing time!


Gave it a quick iron and thats it!
After!
Love it!!


before & after


Thank you for stopping by!
Give it a try and let me know how it goes!!


Thursday, November 1, 2012

Country-inspired Dress Refashion

Got super excited when I found this flowery dress at Goodwill for $6.99! But what to do?!?! Its wintertime in Minnesota and COLD so I decided sleeves were a MUST.


I started doing step by step instructions for you all but it got a bit messy through the process.

Took the sides in about five inches on both sides

Chopped the bottom off right above the knees so there was would be plenty of fabric to play with for the sleeves.

Measured the sleeves, sewed them together and put elastic at the end.

Sewed the sleeves into the arm holes -

AND taadaaaaaa!


Here is a close up of the sleeve - I love the poof!


Before & After!